

We want to teach everyone to craft something.
Frankly, it doesn't matter what a person's interest is, we just want them to join the club and become a maker of things. Making stuff is great for the soul and the mind. It gets you out of your routine and gives you something to focus on that will provide a finished project at the end. For those of you who are readers, you know that sad feeling you get at the end of a good book? Well, making something is the exact opposite of that. Even if your finished project doesn't come out exactly as planned, you've CREATED something - which is an awesome feeling.
To this end, we've been doing our part to bring crafting to the masses. And, while the term "masses" may be overstating it a bit, we believe that every little bit counts. In recent months, we've taught a Beginning Knitting class and, yesterday, I taught a Beginning Embroidery class.
We're lucky to have this cool community space in Madison called DreamBank where they'll pay for all the materials and advertise the class. All you have to do is teach it. The students get to go home with a new skill AND all the materials. So, yesterday, seven people tried their hand at our Bear embroidery pattern*. They received the pattern printed on linen/cotton fabric, a 6" hoop, a #5 embroidery needle, a skein of floss, and handouts on how to do the stitches needed for this pattern. Plus, of course, they got two hours of instruction from yours truly. ;)

Interestingly, teaching embroidery was MUCH easier than teaching beginning knitting. All my students were women (two of them teenagers) and they seemed to intrinsically understand the stitch work. My star pupil was one of the teenagers who just plowed through her pattern with abandon and did a great job. Her mom struggled a bit but I was able to find the right words (and process) to help her understand what she was doing and she eventually caught on and was successful.

The best part was watching people "branch out" and try things that were not strictly on the curriculum. I encourage this behavior because I think it makes more fearless crafters.

Anyway, a good time was had by all and I'm pretty sure that a few of these folks will actually finish their project. Hopefully they'll continue on and make more wonderful stuff.
- Alex
*Click that link for free downloads of Bear, Hare, Fox, and Owl embroidery patterns!
To this end, we've been doing our part to bring crafting to the masses. And, while the term "masses" may be overstating it a bit, we believe that every little bit counts. In recent months, we've taught a Beginning Knitting class and, yesterday, I taught a Beginning Embroidery class.
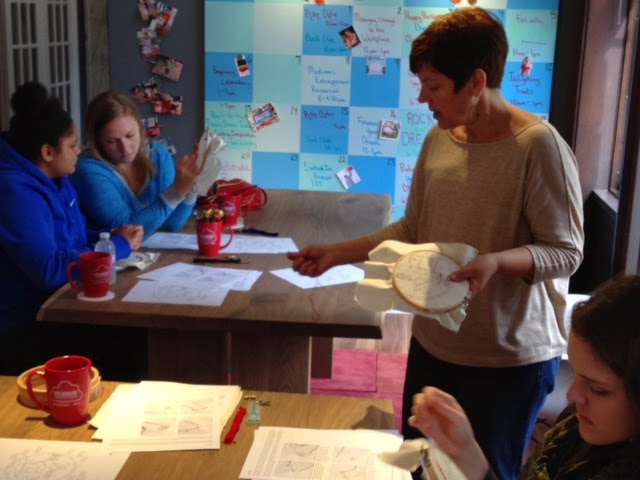 |
| Me, teaching. Note my new hairdo! |

Interestingly, teaching embroidery was MUCH easier than teaching beginning knitting. All my students were women (two of them teenagers) and they seemed to intrinsically understand the stitch work. My star pupil was one of the teenagers who just plowed through her pattern with abandon and did a great job. Her mom struggled a bit but I was able to find the right words (and process) to help her understand what she was doing and she eventually caught on and was successful.

The best part was watching people "branch out" and try things that were not strictly on the curriculum. I encourage this behavior because I think it makes more fearless crafters.

Anyway, a good time was had by all and I'm pretty sure that a few of these folks will actually finish their project. Hopefully they'll continue on and make more wonderful stuff.
- Alex
*Click that link for free downloads of Bear, Hare, Fox, and Owl embroidery patterns!


